VDI Web Publishing - Windows
Publishing a Windows desktop running VNC over HTTPS using noVNC. The VNC UI can be customized by modifying the vnc.html and other files from the noVNC distribution.
Steps
- Install VNC on a Windows VM.
- Use noVNC to publish the VNC connection over HTTPS.
- This setup uses traefik as an ingress controller.
Step 1: Installing VNC in Windows
TightVNC offers an open source VNC server for Windows, download and install the latest version.
TightVNC Config Options
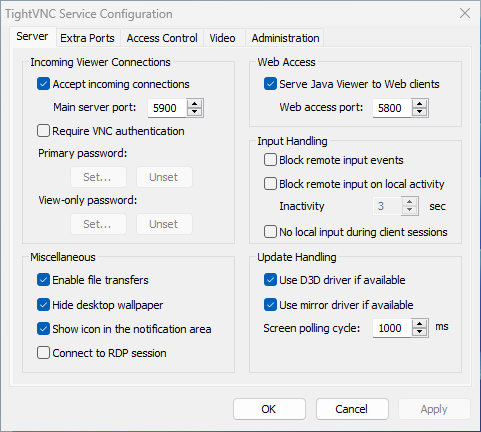
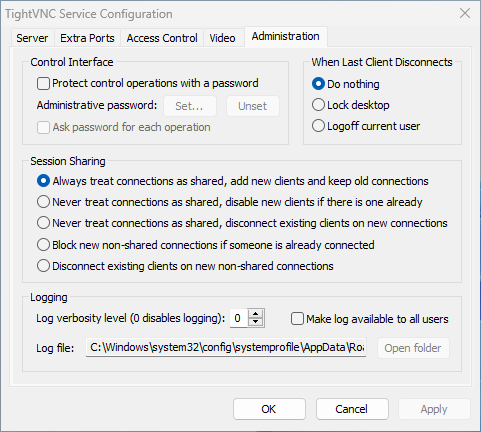
Step 2: Creating a noVNC Docker Container
noVNC does not have an official docker container, so a local container is build using alpine base.
The .env file contains VNC server IP and port details.
The noVNC client
File: Dockerfile
# Filename: Dockerfile
# Build a local novnc docker container using alpine

FROM alpine:latest
WORKDIR /root
RUN apk add --no-cache novnc && \
     ln -s /usr/share/novnc/vnc.html /usr/share/novnc/index.html

EXPOSE 6080/tcp
CMD ["/usr/bin/novnc_server"]
File: docker-compose.yaml
# Filename: docker-compose.yaml
# Docker Compose to build and publish noVNC using Traefik
# Set the Windows VNC server IP in .env

version: "2.4"

name: vdi-example-com
services:
  vdi:
    container_name: vdi.example.com
    build: .
    restart: always

    mem_limit: 1024M

    entrypoint: novnc_server --file-only --vnc ${VNC_SERVER_IP}:${VNC_SERVER_PORT:-5900}

    labels:
      - traefik.enable=true
      - traefik.http.routers.vdi.rule=Host(`vdi.example.com`)
      - traefik.http.routers.vdi.tls=true
      - traefik.http.routers.vdi.tls.certresolver=lets-encrypt
      - traefik.http.routers.vdi.middlewares=basicAuth@file
File: .env
# Filename: .env
VNC_SERVER_IP='10.1.2.222'
VNC_SERVER_PORT='5900'